728x90
반응형
SMALL
* Flask 서버는 외부 클라이언트로부터 캠을 통해 실시간 캡처 이미지를 받고, YOLOv8 모델로 실시간 객체 탐지를 수행한다.
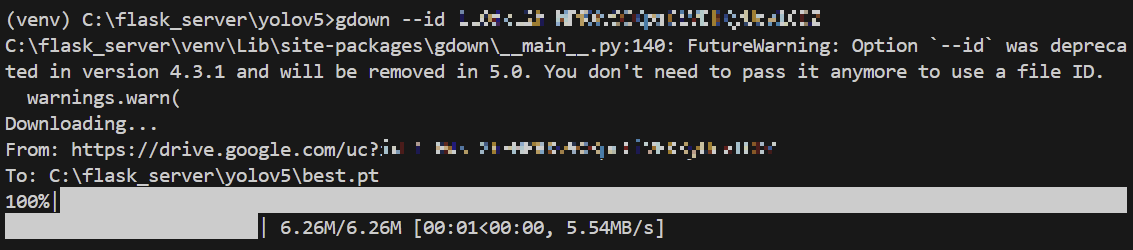
학습시킨 best.pt 파일 다운로드
from flask import Flask, request, jsonify
from ultralytics import YOLO
from PIL import Image
import io
import os
import gdown

# Flask 애플리케이션 초기화
app = Flask(__name__)

# Google Drive에서 파일을 다운로드할 위치 (로컬 서버에 저장될 파일 경로)
model_path = 'best.pt'  # 모델이 저장될 경로(로컬 파일)

# Google Drive 파일 ID (Google Drive 파일의 고유 ID를 입력)
file_id = ' '  # 해당 모델의 Google Drive 파일 ID

# 모델이 이미 로컬에 다운로드되어 있는지 확인하고, 없으면 다운로드
if not os.path.exists(model_path):
    print("Google Drive에서 모델을 다운로드 중...")
    # Google Drive에서 파일 다운로드
    url = f'https://drive.google.com/uc?id={file_id}'
    gdown.download(url, model_path, quiet=False)
    print(f"{model_path} 다운로드 완료!")

# YOLOv8 모델 로드 (Google Drive에서 다운로드한 모델 사용)
model = YOLO(model_path)

@app.route('/predict', methods=['POST'])
def predict():
    # 클라이언트에서 이미지 파일이 전송되었는지 확인
    if 'image' not in request.files:
        return jsonify({'error': 'No image file provided'}), 400

    file = request.files['image']
    img_bytes = file.read()

    try:
        # 이미지 열기
        img = Image.open(io.BytesIO(img_bytes))

        # YOLOv8 모델을 사용한 추론 수행
        results = model(img)

        # 탐지된 객체 정보 추출
        detections = []
        for result in results:
            boxes = result.boxes  # Boxes object
            for box in boxes:
                # 경계 상자 좌표와 신뢰도, 클래스 정보
                x1, y1, x2, y2 = box.xyxy[0].tolist()
                x1, y1, x2, y2 = map(int, [x1, y1, x2, y2])
                confidence = float(box.conf[0])
                class_id = int(box.cls[0])
                class_name = model.names[class_id]
                detections.append({
                    'bbox': [x1, y1, x2, y2],
                    'confidence': confidence,
                    'class': class_name
                })

        # 결과 반환
        return jsonify({'detections': detections})

    except Exception as e:
        print(f"Error during prediction: {str(e)}")
        return jsonify({'error': str(e)}), 500

if __name__ == '__main__':
    app.run(host='0.0.0.0', port=5000)
서버 코드.
import cv2
import requests

# 서버 주소 (서버가 실행 중인 IP 주소로 변경)
server_url = " "  # /predict 경로 추가

# 웹캠 장치 열기 (0은 기본 웹캠을 의미)
cap = cv2.VideoCapture(0)

if not cap.isOpened():
    print("웹캠을 열 수 없습니다.")
    exit()

while True:
    # 웹캠에서 프레임 읽기
    ret, frame = cap.read()
    if not ret:
        print("프레임을 읽을 수 없습니다.")
        break

    # 프레임을 JPEG로 인코딩
    _, img_encoded = cv2.imencode('.jpg', frame)

    # 인코딩된 이미지를 바이트 형태로 변환
    img_bytes = img_encoded.tobytes()

    # 서버로 이미지 전송
    files = {'image': ('frame.jpg', img_bytes, 'image/jpeg')}
    try:
        response = requests.post(server_url, files=files)

        # 서버 응답 확인
        if response.status_code == 200:
            # 서버가 반환한 JSON 응답 출력
            detections = response.json().get('detections', [])
            if detections:
                print("탐지된 객체:")
                for det in detections:
                    print(f"클래스: {det['class']}, 신뢰도: {det['confidence']}, 경계 상자: {det['bbox']}")

                # 탐지 결과를 프레임에 그리기
                for det in detections:
                    x1, y1, x2, y2 = det['bbox']
                    conf = det['confidence']
                    cls = det['class']

                    # 경계 상자 그리기
                    cv2.rectangle(frame, (x1, y1), (x2, y2), (0, 255, 0), 2)
                    label = f"{cls}: {conf:.2f}"
                    cv2.putText(frame, label, (x1, y1 - 10),
                                cv2.FONT_HERSHEY_SIMPLEX, 0.5, (0, 255, 0), 2)
            else:
                print("탐지된 객체가 없습니다.")
        else:
            print(f"Error: {response.status_code}, {response.text}")
    except requests.exceptions.RequestException as e:
        print(f"서버 요청 중 오류 발생: {e}")
        break

    cv2.imshow('Webcam', frame) # 결과 프레임 표시
    if cv2.waitKey(1) & 0xFF == ord('q'): # 'q' 키를 누르면 종료
        break

cap.release()
cv2.destroyAllWindows()
클라이언트 코드.
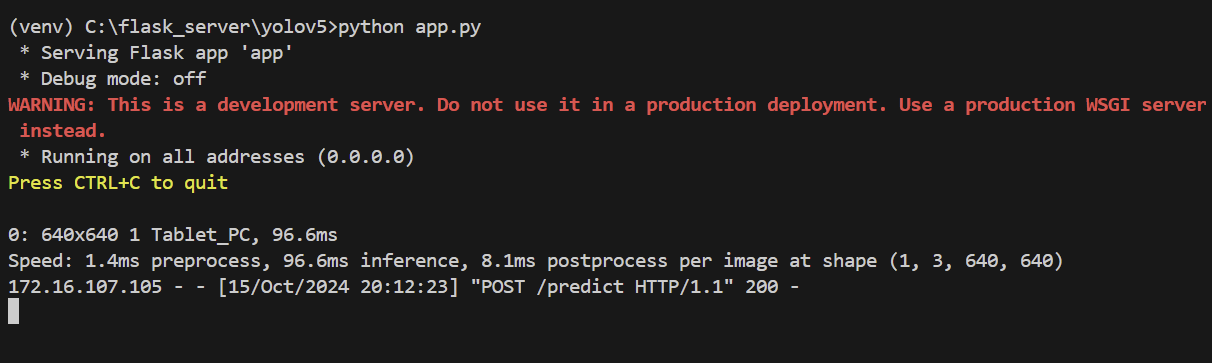
서버 실행.
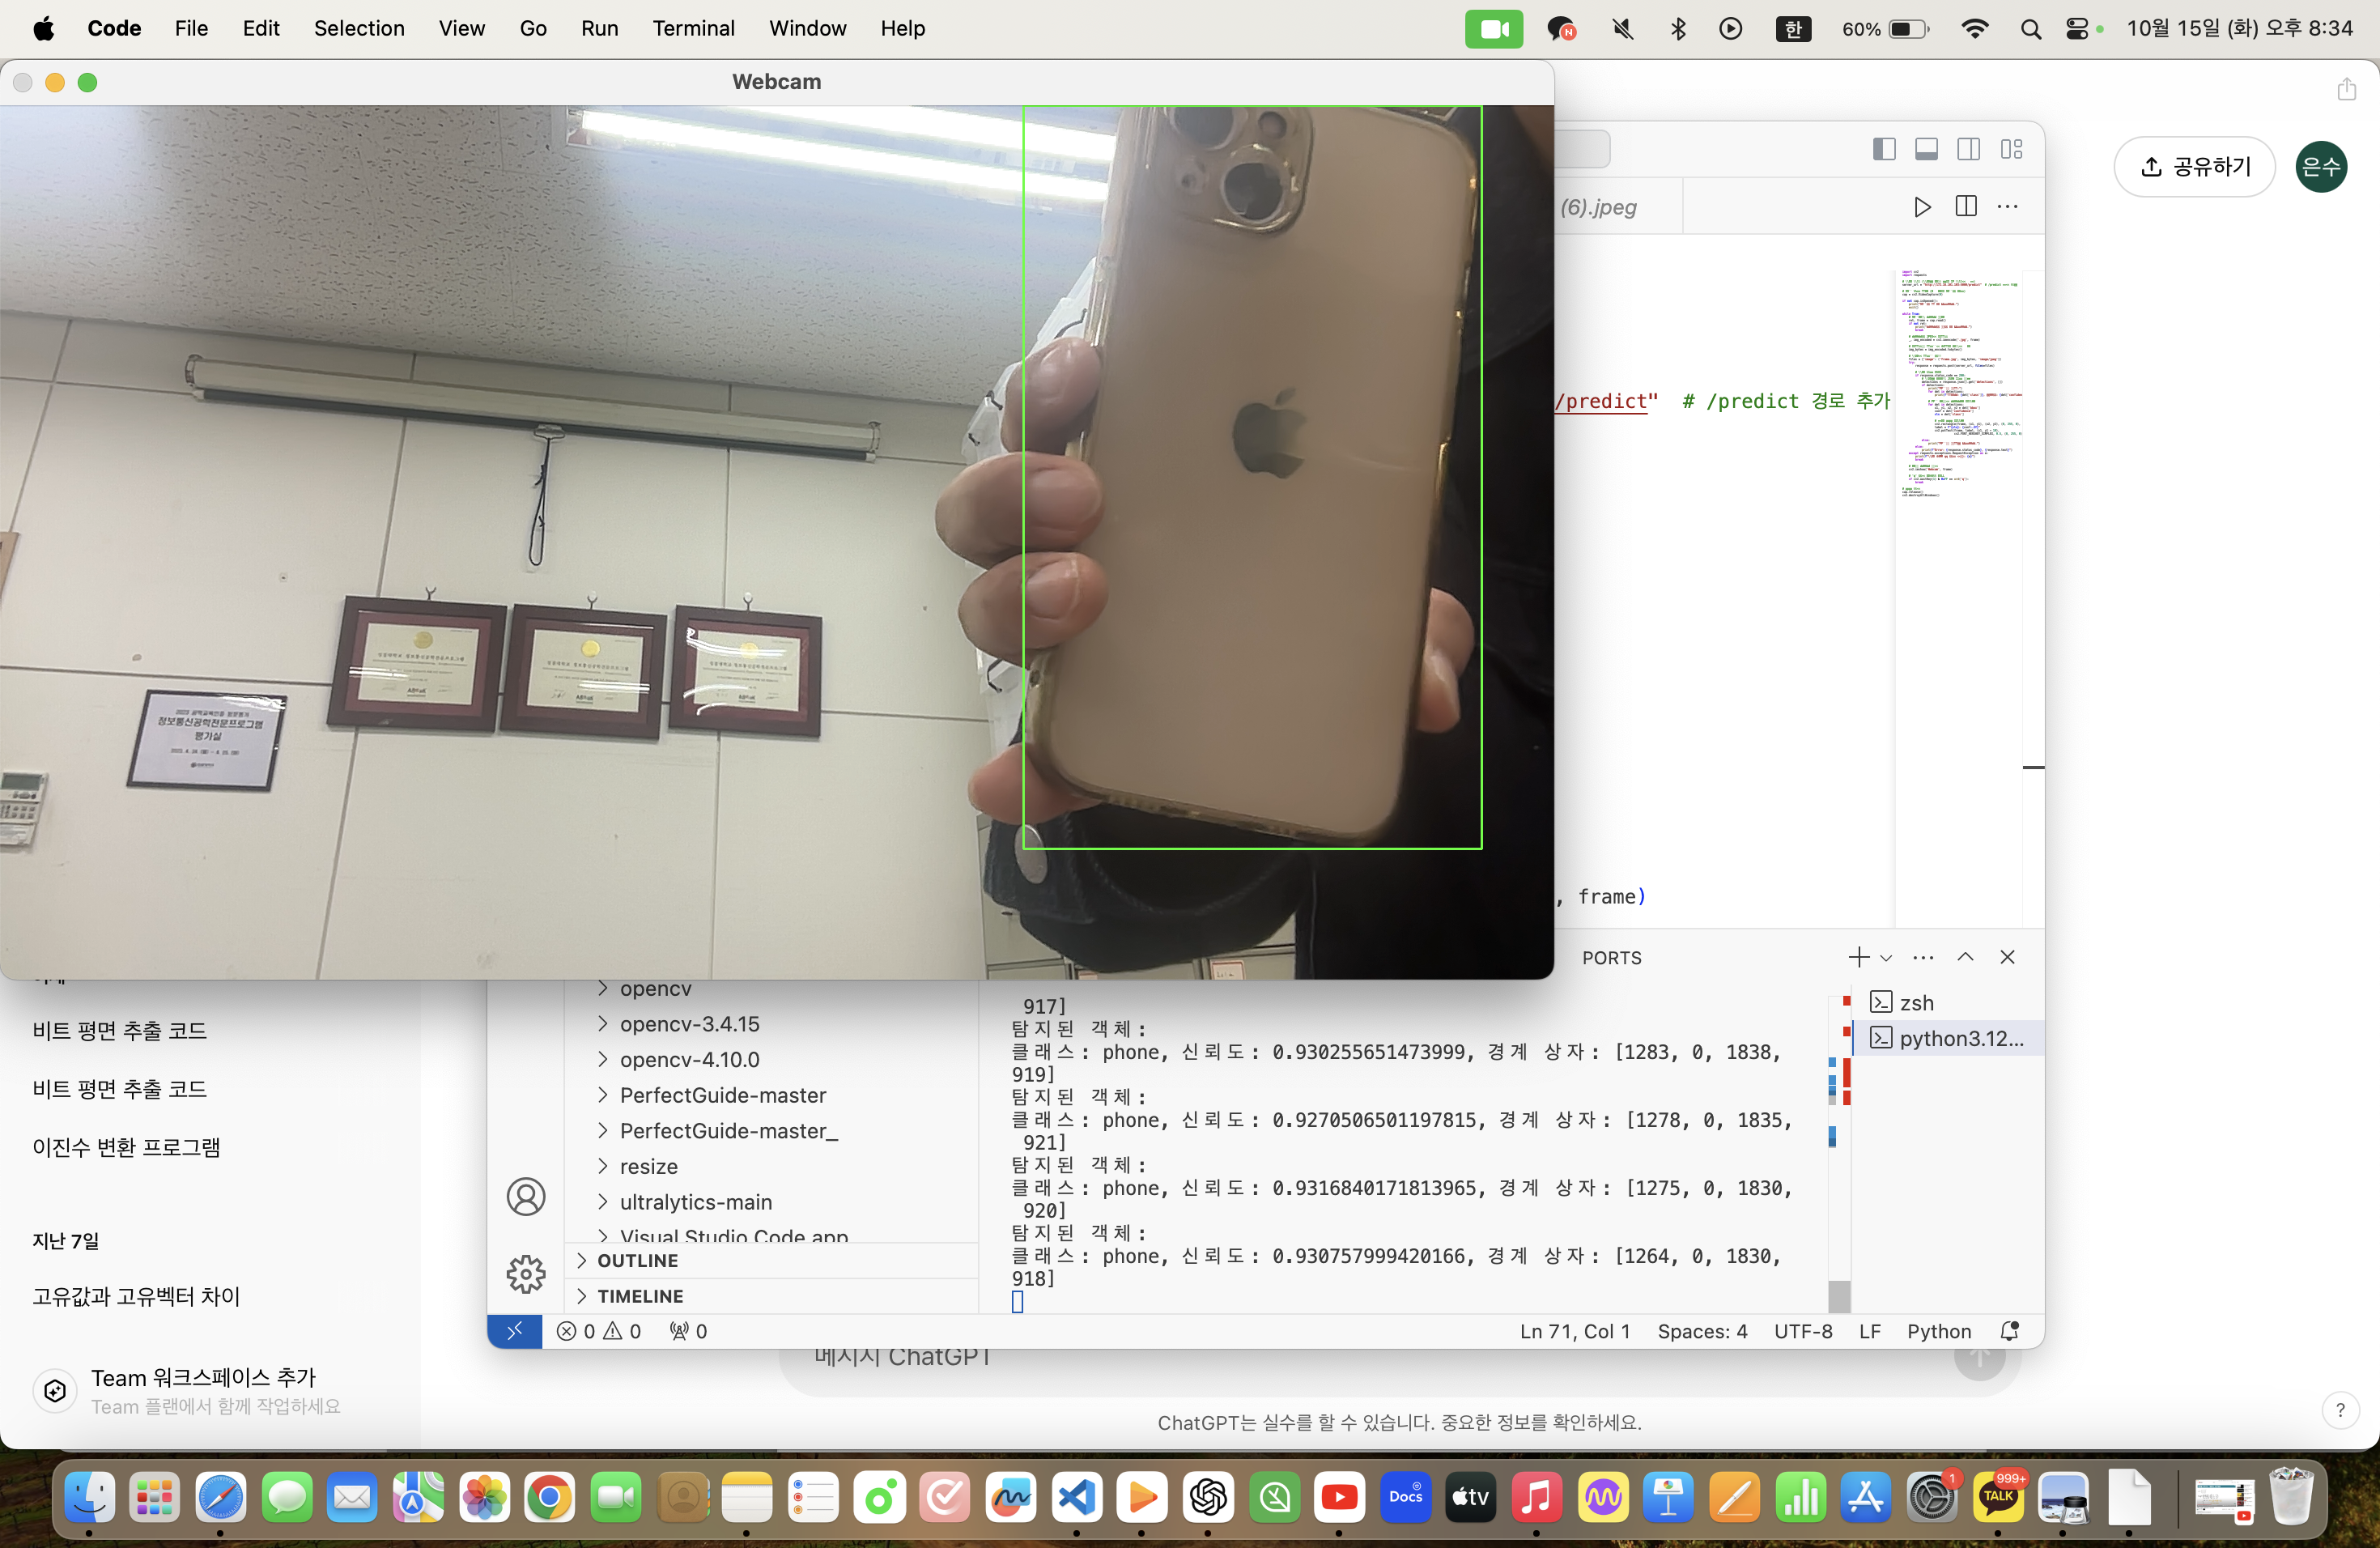
실시간 이미지 캡처 및 Flask 서버로 전송.

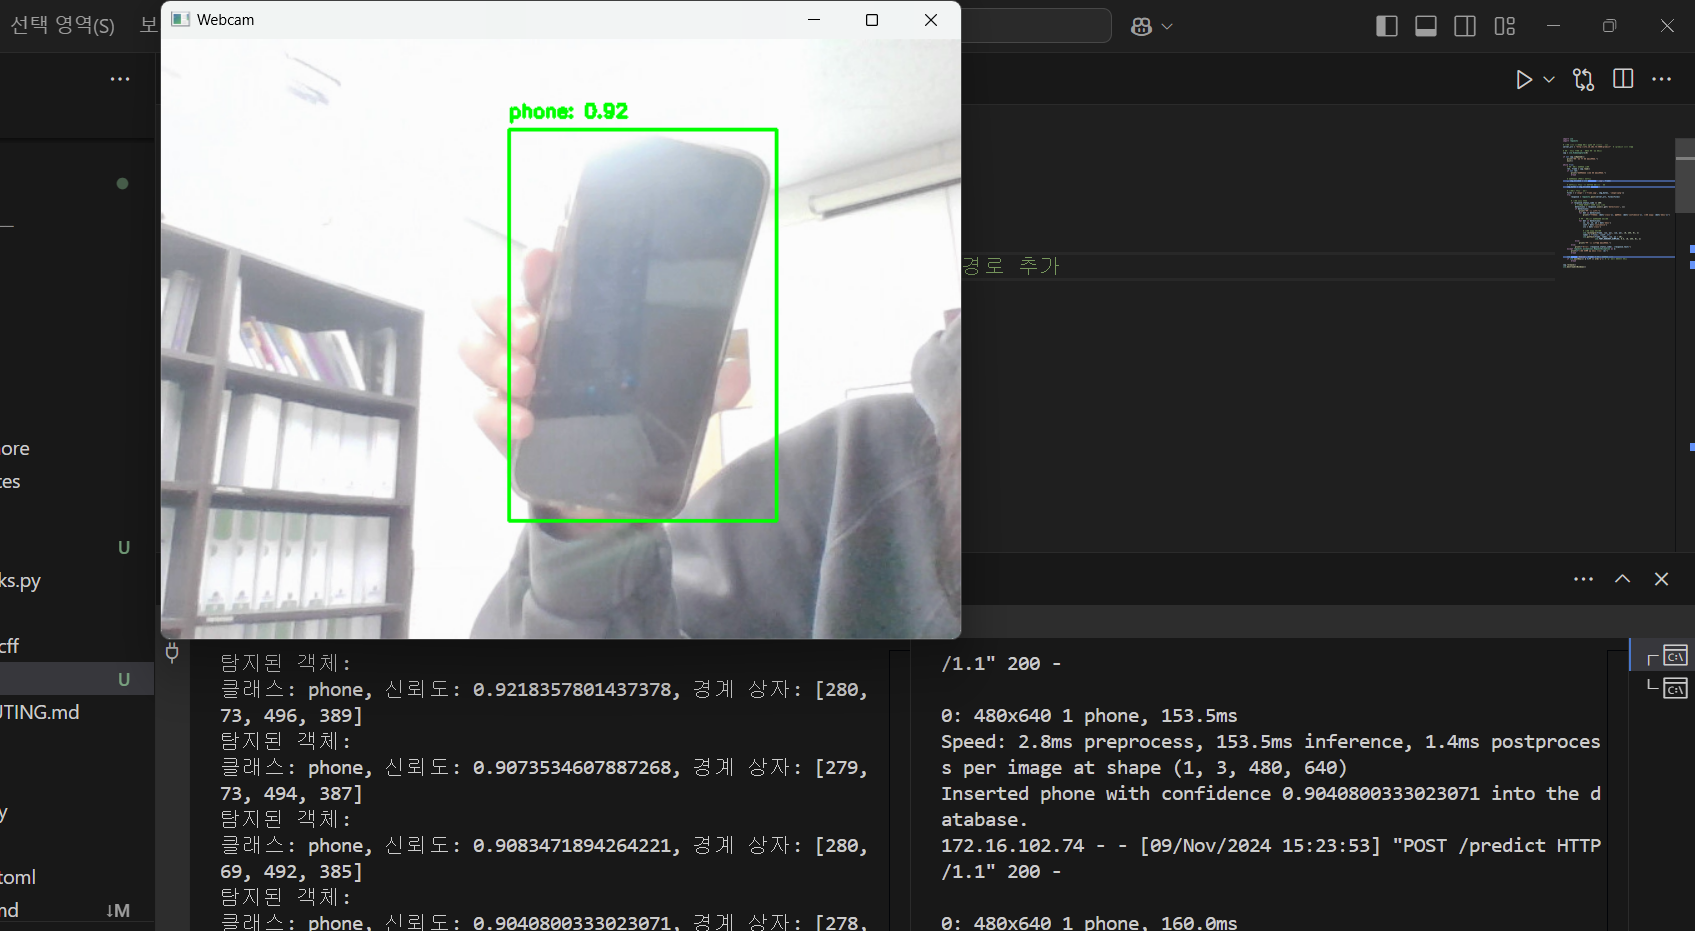
학습시킨 핸드폰을 잘 인식한다.
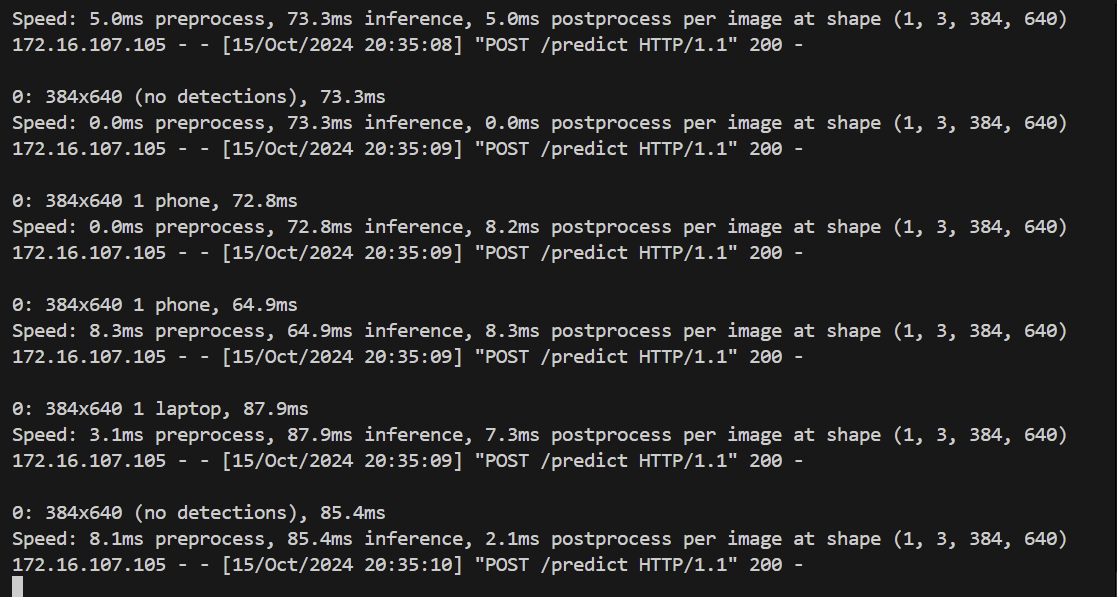
추론.
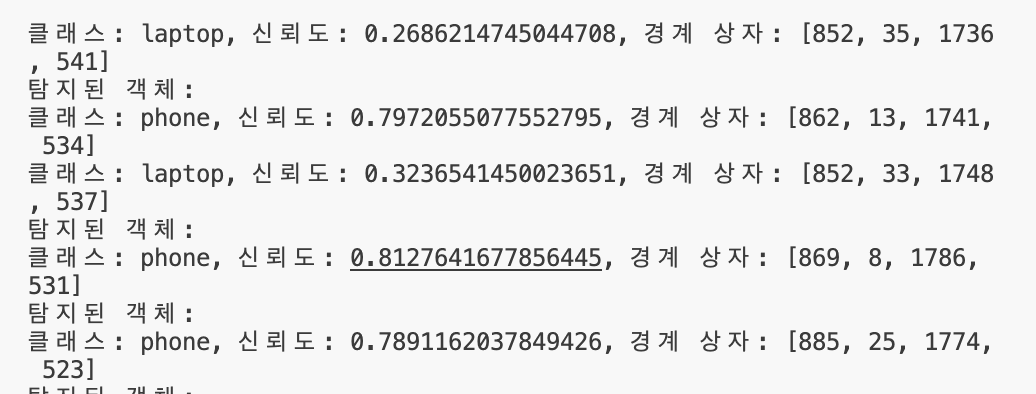
Phone 객체가 높은 신뢰도로 탐지된다.

탐지 결과를 저장할 테이블
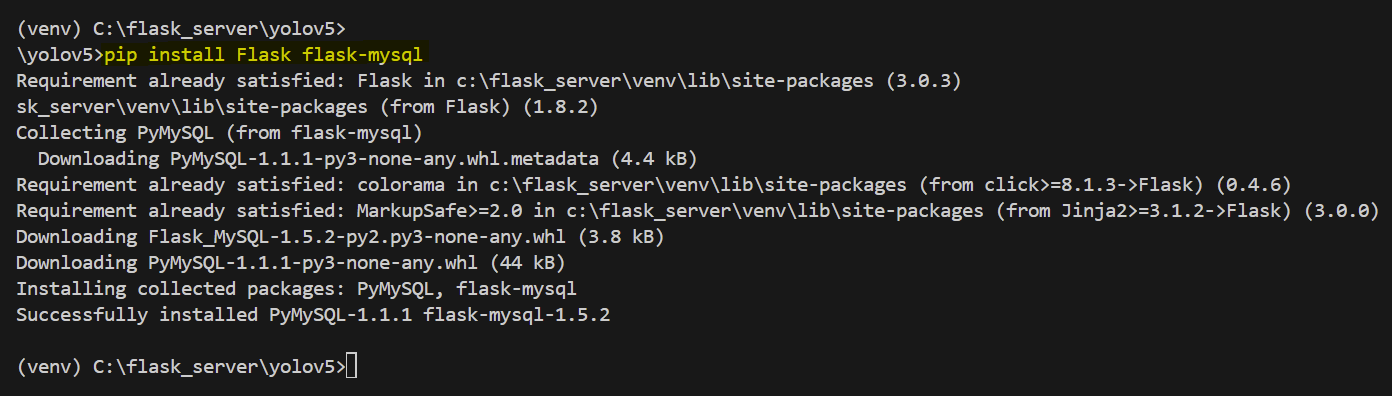
pip install Flask flask-mysql
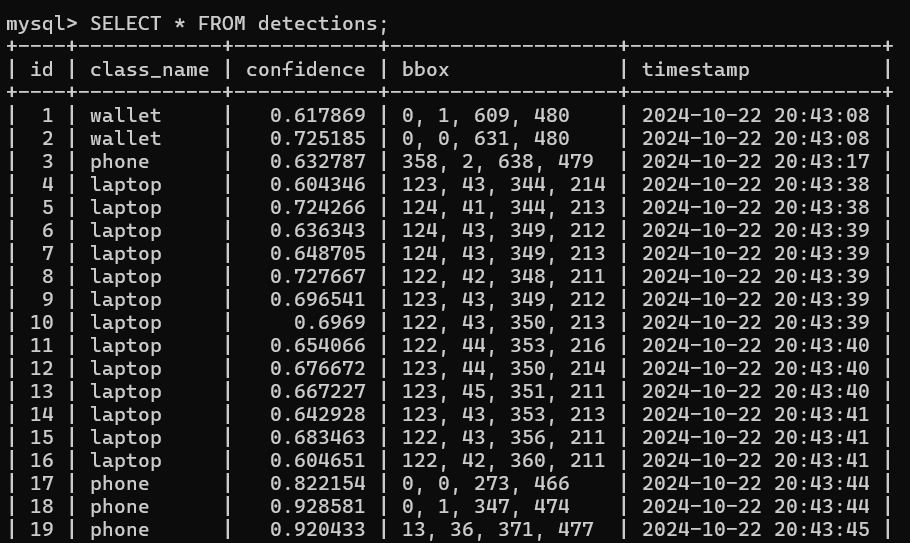
테이블 조회.
끝.
728x90
반응형
LIST
댓글